Cloth Diaper Wash Routine: Complete Pre-Wash to Dry Protocol
Table of Contents
Things You'll Learn From This Article:
- Cloth diapers need two separate wash cycles: a short pre-wash to rinse out waste, then a long hot wash to actually clean them.
- Using only one wash cycle lets dirty water soak back into the diapers, which causes smells, leaks, and rashes.
- Diapers count as heavily soiled laundry, so using too little detergent usually causes more problems than using enough.
- A small amount of detergent goes in the pre-wash, and a full, heavy-soil amount goes in the main wash.
- Strong ammonia smell means pee residue and bacteria are still in the fabric, not just a “normal diaper smell.”
- Hot water, enough detergent, and washing every 2–3 days help prevent ammonia buildup.
- Hard water can coat diapers with minerals, making them repel liquid and leak even when they look clean.
- A simple water-drop test can show whether mineral buildup is blocking absorbency.
- Zinc and petroleum-based diaper creams can clog fabric and stop diapers from absorbing properly.
- Using a liner or switching to cloth-safe creams protects diapers from greasy buildup.
- Sunlight can naturally fade poop stains, especially when diapers are still wet after washing.
- Sun helps with stains but does not replace proper washing or sanitizing.
- Hard water often requires more detergent or a water-softening additive so detergent can work properly.
- Waterproof pail liners last longer when air-dried or dried on low heat instead of high heat.
- High dryer heat can ruin the waterproof layer and cause leaks.
- Oxygen bleach and enzyme cleaners are safer options for treating stains on diapers.
- A barnyard or musty smell means bacteria are still living in the fabric, even if diapers look clean.
- Occasional bleach sanitizing and better airflow in the diaper pail can stop recurring stink.
- Letting dirty diapers breathe slightly in the pail slows bacteria growth better than sealing them airtight.
- Once the routine matches your washer and water, diaper laundry becomes simple and repeatable.
The first few months of cloth diapering can be overwhelming. You’d think the hard part would be picking out cute prints or learning how to fold them, but it usually turns out that the wash routine takes up the most mental energy.
Unlike your regular laundry, diapers need very specific conditions to get clean, absorbent, and safe for a baby’s skin.
If you get it wrong, you end up with rashes, leaks, or that dreaded “barnyard” stink that tells you something isn’t getting clean. But don’t worry—it’s just a matter of following a few specific steps.
The reason it’s tricky is simple: diapers are the dirtiest things you’ll ever wash.
They’re full of pee, poop, and bacteria, plus they soak up body oils and skin cells. No other laundry combines this level of biological mess with the need to be perfectly residue-free for sensitive skin.
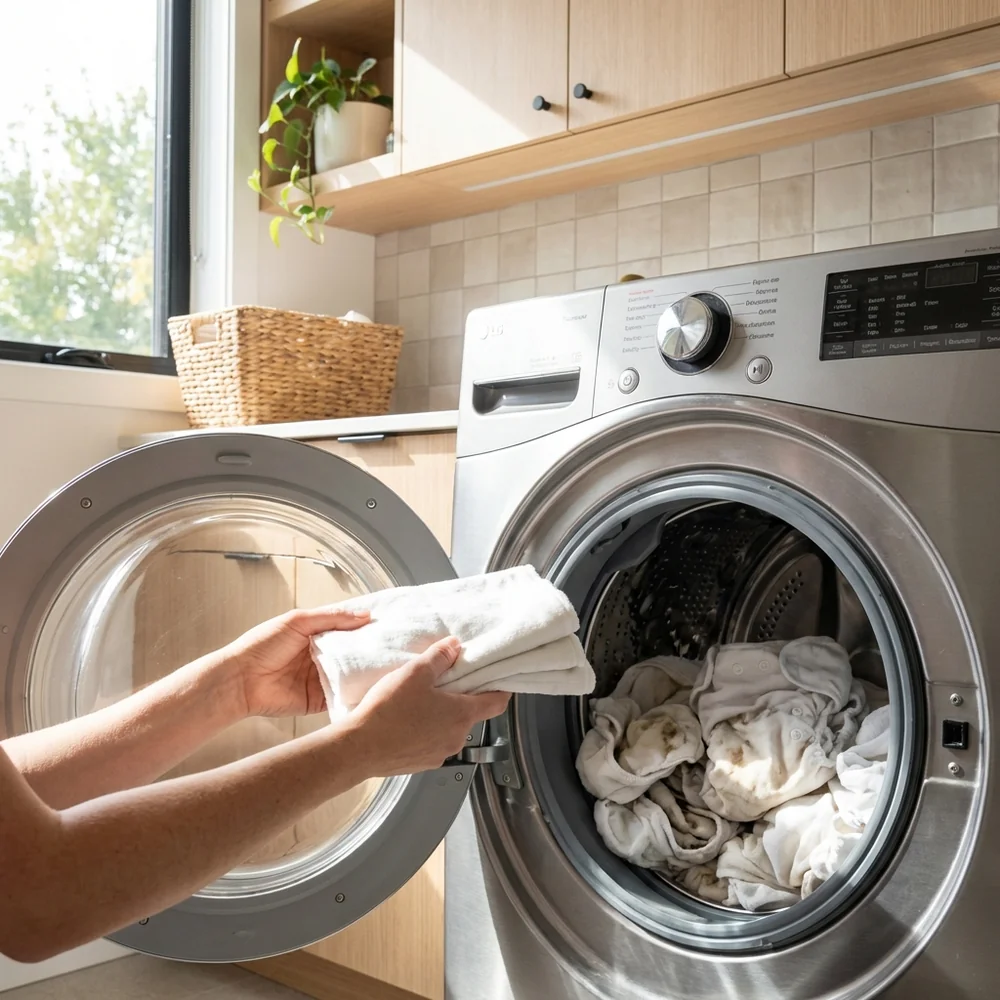
Pre-Wash and Main Wash Cycles
Here’s the golden rule: you can’t clean cloth diapers in a single cycle.
Think of it this way: if you try to do it all at once, you’re basically washing your diapers in dirty toilet water. The soil just redeposits back onto the fabric. You need two distinct jobs done, and they require two separate cycles.
First, you need a pre-wash (sometimes called a quick wash or express cycle). This cycle just knocks out the bulk of the waste and drains that dirty water away. You only need a little detergent here—about half a normal dose—and cool or warm water is fine. It’s not about sanitizing yet; it’s just about getting the worst of the mess out.
Step two is your main wash (usually the heavy-duty or whites cycle). This is where the real cleaning happens. Use hot water, the full amount of detergent, and a long agitation time. Since you already rinsed away the bulk of the mess, the detergent can actually focus on deep cleaning the fabric.
Crucially, make sure the machine drains completely between these two cycles. You want that dirty pre-wash water gone before the main wash starts. For specific machine settings, check out our high-efficiency washer guide.
Key Insight: The pre-wash rinses away the heavy soil so your main wash isn’t churning in dirty water. Don’t skip it!
Detergent Quantity for Heavy Soil
Cloth diapers are pretty much the definition of “heavy soil.” This means you need to use enough detergent to handle the job.
You might hear people say to use tiny amounts of detergent to avoid buildup, but that’s usually bad advice for diapers.
Detergent works by binding to dirt. If you have a ton of dirt (which diapers definitely do), safe to say you’ll use up the detergent quickly. If you don’t use enough, the surfactants get exhausted before the job is done, and dirt stays in the fabric.
The exact amount depends on your machine, water hardness, and load size, but generally, you want to be at the upper end of the recommendations. HE machines need HE-specific amounts, but don’t be afraid to use the “heavily soiled” line on the cap. Understanding detergent ingredients can help you pick the right one.
For the pre-wash, use about a third to a half of the main wash amount. Remember, that cycle is just for flushing out the bulk waste.
Key Insight: Diapers are the dirtiest laundry you have. Don’t skimp—use the maximum recommended detergent dose for “heavy soil.”
Removing Ammonia Buildup
If your diapers smell like ammonia (that sharp, nose-burning chemical smell) when your baby pees, you’ve got a wash routine problem.
Ideally, washing should remove all urea (the stuff in pee). If urea stays in the fabric, bacteria turn it into ammonia.
This isn’t just “normal diaper smell”—it means your diapers aren’t getting clean. It’s basically the same thing that happens with workout clothes getting stinky.
To fix it, you need to kill the bacteria and wash away the urea. This usually means hotter water in your main wash (at least 120°F or 49°C), ensuring you’re using enough detergent, and washing more often (every 2-3 days).
If you’re already dealing with ammonia buildup, you might need to do a reset. Check out our guide on stripping ammonia or consider a bleach refresh using proper chlorine bleach protocols.
Key Insight: An ammonia smell means bacteria and urea are surviving the wash. You need more detergent, hotter water, or shorter intervals between washes.
Stripping Mineral Deposits
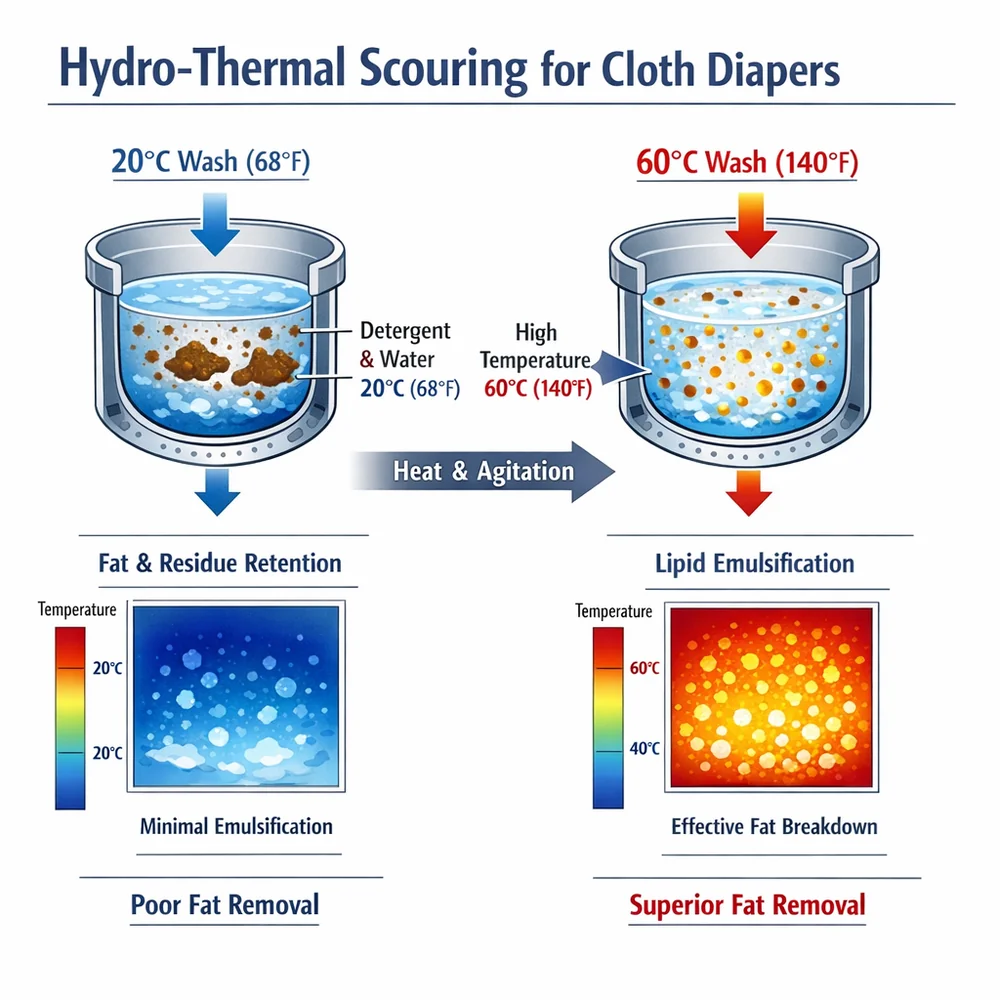
If you have hard water, minerals like calcium and magnesium can build up on your diapers over time.
This mineral scale coats the fibers and makes them repel water instead of absorbing it. A diaper that used to work great might suddenly start leaking constantly because it just can’t soak up liquid fast enough anymore.
You can test this with a simple “bead test.” Lay a clean, dry diaper insert flat and pour a few drops of water on it.
If the water soaks in instantly, you’re good. If it beads up and sits on top, or rolls right off, you’ve got buildup.
To fix this, you can “strip” the minerals using a chelating agent. Dissolving washing soda in hot water and soaking the clean diapers for 4-8 hours helps dissolve that mineral crust.
Going forward, you’ll need to manage your hard water properly to prevent it from coming back. See our hard water laundry guide for the details.
Key Insight: If water beads up on a clean diaper, minerals are blocking the fibers. A washing soda strip can restore absorbency.
Avoiding Zinc and Petroleum Creams
Diaper creams are great for little bums, but some ingredients are a nightmare for cloth diapers. Specifically, zinc oxide and petroleum jelly (Vaseline).
These ingredients are designed to create a water barrier on skin—which is exactly what you don’t want on a diaper that needs to absorb liquid.
Zinc oxide is a mineral powder that’s notoriously hard to wash out, and petroleum jelly is basically grease. They don’t dissolve in water, and standard detergent struggles to remove them.
If you need to use a heavy-duty rash cream, always use a liner (either a disposable one or a reusable fleece one) to protect the diaper. Or, try “cloth-safe” creams made with lanolin or coconut oil, which wash out much easier.
If you already have a buildup of grey, waxy residue, you’ll need a good scrubbing or a treatment that targets oils. Laundry enzymes (specifically lipase) can help break these oily residues down.
Key Insight: Sticky creams like zinc and petroleum waterproof your diapers. Use a liner if you need them, or switch to cloth-safe options.
Sun Bleaching Stains
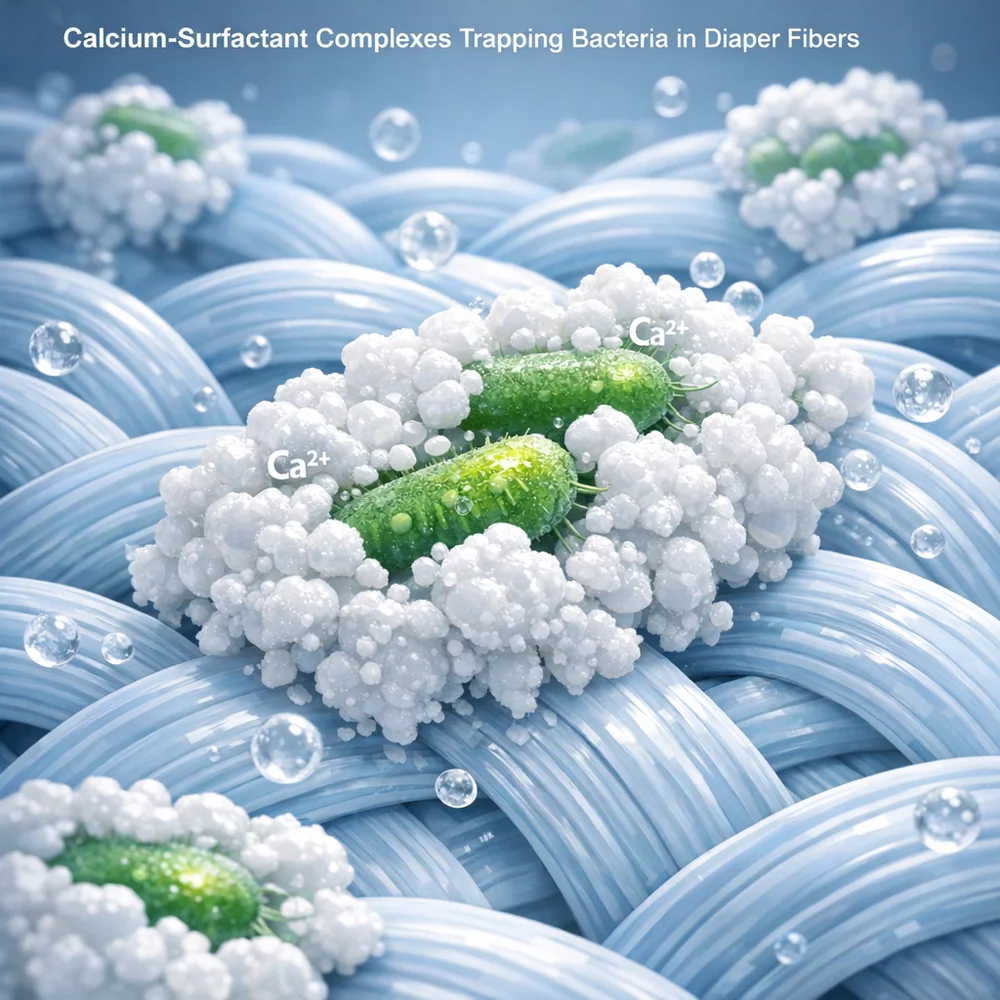
One of the coolest tricks in cloth diapering is good old-fashioned sunshine.
Direct sunlight can actually bleach stains naturally. The UV radiation breaks down the colored bonds in the stain molecules, turning those yellow or brown marks invisible. It’s surprisingly effective.
It works best with direct, outdoor sunlight.
Sunlight through a window doesn’t work well because glass blocks most UV rays. And the best part? It works on other tough stains too.
Diapers bleach faster if they’re wet, so putting them out right after the wash is perfect. Just lay them on the grass or a drying rack. Just remember: while the sun is great for stains, it doesn’t sterilize things the way boiling or bleach does, so don’t rely on it for sanitizing.
Key Insight: Direct sun effectively fades organic stains on wet diapers. It’s nature’s bleach (but it won’t sanitize deeply).
Hard Water Adjustments for Diapers
Hard water makes everything harder. It interferes with detergent, deposits minerals on fabric, and can lock in smells.
If you have hard water, you need to account for it, or your wash routine will eventually fail.
First, test your water hardness. You can get cheap strips or check your local water report online (the EPA Water Quality Portal is a good start).
If your water is “soft” (under 60 ppm), you’re lucky—no changes needed. If it’s moderately hard (60-120 ppm), just bump up your detergent dose. If it’s hard (over 120 ppm), you probably need an additive like Borax or washing soda to help soften the water so your detergent can work.
Key Insight: Test your water! If it’s over 120 ppm, add a water softener or simply use more detergent.
Drying Pail Liners
Pail liners (the waterproof bags you store dirty diapers in) need a little special care.
They’re usually made with PUL (a laminate material), and the waterproof coating can be damaged by high heat.
If you dry them on high every time, that waterproof layer can delaminate or crack, and suddenly your diaper bag is leaking.
Hanging them to dry is the safest bet and will make them last longest. If you need to use the dryer, stick to low heat or air fluff. If they start to feel stiff, a quick tumble on low might actually help soften them up again, but avoid the high heat torching.
Check them regularly for cracks or peeling. Once the lining goes, it’s time to replace it.
Key Insight: Air dry your pail liners or use low heat. High heat can melt or crack the waterproof coating.
Diaper Safe Stain Removers
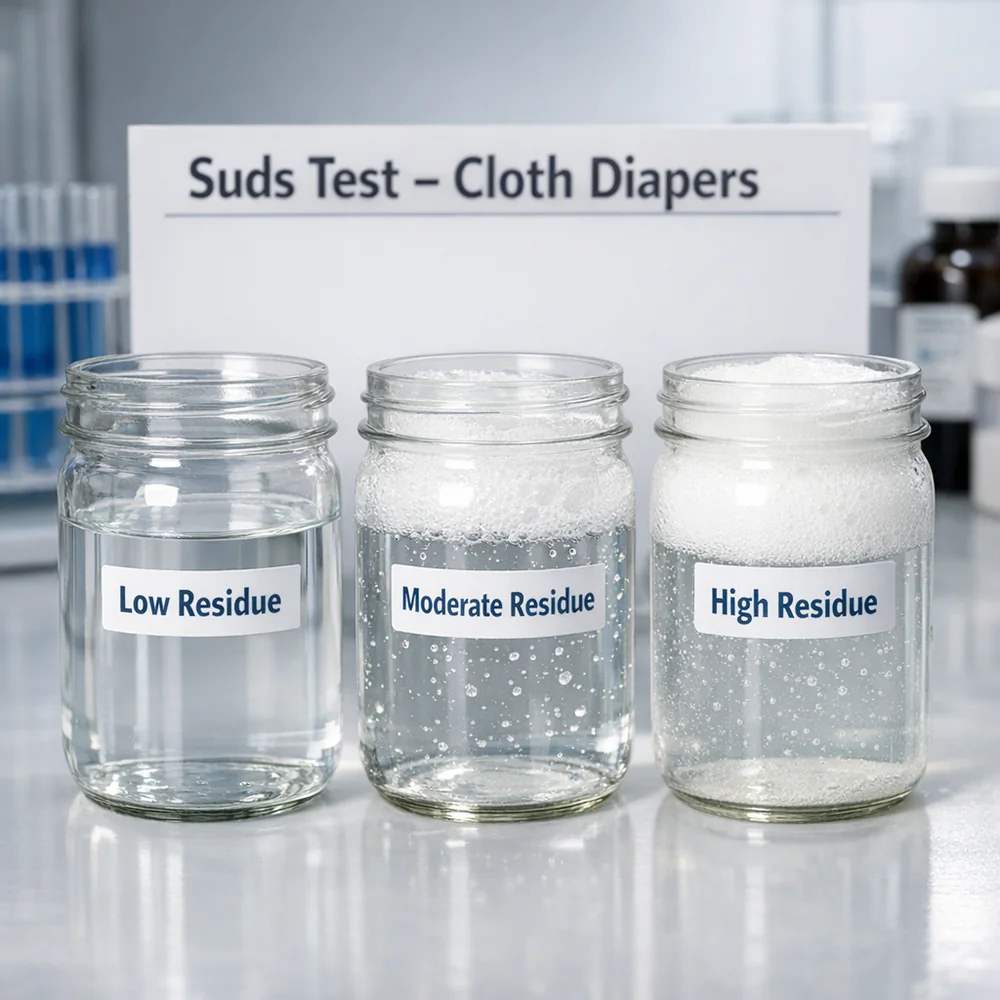
Pre-treating stains is smart, but be careful what you spray on diapers.
Some stain removers have ingredients that can irritate a baby’s sensitive skin (like optical brighteners) or damage the diaper components (like petroleum solvents that eat elastic).
A safe, powerhouse option is oxygen bleach (like OxiClean). It uses hydrogen peroxide to break down stains and rinses away clean without leaving nasty residues.
Enzyme stain removers are also fantastic because they literally digest the biological mess (poop and oils). Spraying an enzyme cleaner on a stain and letting it sit for 10 minutes before washing works wonders on protein stains.
And don’t forget the sun! It’s free and surprisingly effective.
Key Insight: Stick to oxygen bleach for stains. Avoid harsh solvents or products with optical brighteners that can irritate skin.
Troubleshooting Barnyard Smell
If your clean diapers smell… funky, like a farm or a hamster cage, that’s “barnyard smell.”
It’s different from the sharp ammonia smell. This usually means you have bacterial buildup in the diapers.
Basically, there’s still some poop or waste residue deep in the fibers, and bacteria are having a feast. It usually gets worse the longer the diapers sit in the pail.
To kill it, you need to clean deeper. A one-time bleach sanitize can wipe out the colony. Then, tweak your routine: make sure you’re using enough hot water in the main wash, enough detergent to actually remove the soil, and ensuring the diapers get completely dry.
Also, don’t seal your dirty diaper pail airtight. It sounds counterintuitive, but a little airflow helps dry things out and slows down bacterial growth. A sealed, humid bucket is a bacteria incubator. For more on sanitizing, check out our guide on sick laundry.
Key Insight: A barnyard smell means bacteria are growing on leftover waste. You need better washing: hotter water, more detergent, and fewer days between washes.
Conclusion
Getting a cloth diaper routine down takes a little trial and error, but don’t let it scare you.
Every step—the pre-wash, the hot main wash, the right detergent—has a reason. You’re dealing with the toughest laundry there is, so you need a routine that matches the challenge.
Once you find what works for your machine and your water, it becomes total muscle memory. You’ll stop thinking about “cycles” and “ppm” and just throw a load in.
References
-
Journal of Applied Microbiology. “Survival of Enteric Bacteria in Laundered Textiles.”
-
Textile Research Journal. “Hard Water Effects on Detergent Performance and Fabric Deposition.”
-
Journal of Clinical Microbiology. “Bacterial Colonization of Reusable Absorbent Products.”
-
Environmental Protection Agency. “Water Quality Data and Testing Guidelines.” https://www.epa.gov/waterdata/water-quality-data-download