Cleaning Hardwood Floors Safely: Polymer Finish Stability and Moisture Thermodynamics
Table of Contents
Things You'll Learn From This Article:
- Hardwood reacts to whatever you put on it, so cleaning choices matter more than they do on tile or vinyl.
- Cleaners that are too alkaline (like ammonia or bleach) slowly break down the protective finish and make floors look dull.
- Acidic cleaners like vinegar damage wood finishes over time, even though they’re often labeled as “natural.”
- Water is the biggest enemy—too much moisture seeps into seams and causes swelling, warping, or mold.
- A barely damp microfiber mop cleans effectively without pushing water into cracks between boards.
- Floors should dry within about a minute after mopping to stay safe from moisture damage.
- Sweeping or vacuuming first prevents grit from scratching the finish during mopping.
- Dish soap only works if it’s extremely diluted; too much leaves a sticky film that attracts dirt.
- Specialized wood cleaners are safer because they’re made to match the finish’s pH and don’t need rinsing.
- Solid hardwood swells and warps more easily, while engineered hardwood risks glue failure—both still need low moisture.
- Scratches can’t be “cleaned away” and actually let water reach bare wood if ignored.
- Minor scratches need finish restorers, while deeper ones need color-matched wood filler.
- Entry mats reduce scratches by trapping grit before it reaches the floor.
- Wax and polish are not the same, and wax should never go on polyurethane-finished floors.
- Polishes are meant for sealed floors and help restore shine by filling tiny surface scratches.
- Overusing polish can cause buildup that peels or yellows, so less is better.
- Indoor humidity affects floor movement, so keeping it between 35–55% helps prevent cracks and gaps.
- Using a humidifier in winter and a dehumidifier in summer protects both the wood and its finish.
Hardwood floors are beautiful, but they’re also one of the trickiest surfaces in your home to clean properly. Unlike synthetic flooring that can handle moisture and chemicals without complaint, natural wood is a living biological material that reacts to everything it touches. The wood fibers are hygroscopic, meaning they absorb water like a sponge. And that protective finish on top? It’s surprisingly easy to damage with the wrong cleaner.
Use a product that’s too alkaline, and you’ll break down the polyurethane finish. Go too acidic, and you’ll etch the surface and strip away its shine.
The biggest challenge is managing water during cleaning. Every drop that gets into the seams between boards can cause the wood to swell, warp, or even rot from the inside. This guide covers how to clean hardwood safely, from choosing the right pH-neutral products to using microfiber techniques that minimize moisture exposure. Your floors are a major investment, and they deserve care that protects rather than degrades them.
Why Alkaline Cleaners Destroy Your Finish
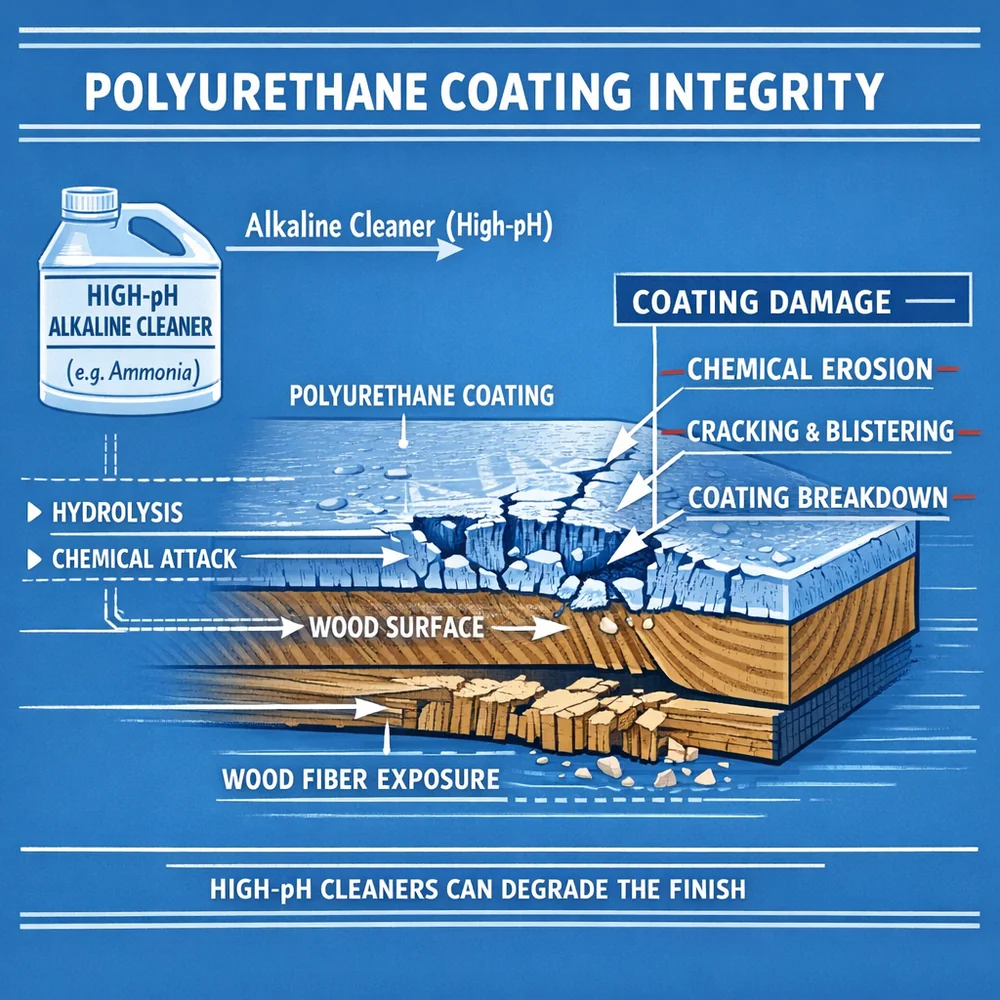
Polyurethane is the standard protective coating on most modern hardwood floors. It forms a tough plastic shield that handles foot traffic and repels water. But this coating has a weakness: it’s highly sensitive to pH. The polymer chains that make up polyurethane stay stable only in a neutral pH environment.
When you hit polyurethane with a high-alkaline cleaner like ammonia or bleach, the hydroxide ions attack the chemical bonds directly.
This breaks down the protective layer in a process called alkaline hydrolysis. Over time, the degraded surface becomes microscopically rough and starts scattering light poorly. Your once-glossy floors turn hazy and dull. For daily maintenance, stick exclusively to pH-neutral products like specialized wood cleaners or highly diluted liquid dish soap. Water-based polyurethane finishes are especially vulnerable during their first thirty days of curing, so be extra careful with new floors.
Key Insight: Polyurethane finishes are susceptible to alkaline hydrolysis when exposed to high-pH cleaners like ammonia or bleach. Utilizing pH-neutral surfactants prevents the chemical degradation of the polymer matrix, preserving its clear, reflective properties and structural barrier function.
Vinegar: The “Natural” Cleaner That Damages Wood
Now that we’ve covered alkaline products, let’s address the other end of the pH spectrum. White vinegar is often promoted as a natural wood cleaner, but its acidity poses a significant risk. While acetic acid excels at dissolving mineral scale, it also slowly eats away at protective coatings.
On wax finishes, vinegar thins the protective layer by dissolving the lipid bonds that hold it together.
On polyurethane, repeated exposure to acid creates microscopic etching that leads to permanent loss of sheen. The damage is cumulative and can’t be reversed through simple cleaning. For floors with natural oil or wax finishes, the risk is even higher since these rely entirely on the physical presence of wax molecules to repel water. Acidic cleaners disrupt the bond between wax and wood. The bottom line: keep vinegar away from your hardwood floors no matter how “natural” it seems.
Key Insight: The acidity of white vinegar can chemically erode wax finishes and microscopically etch polyurethane coatings, leading to a permanent loss of surface sheen and water resistance. Preserving the finish’s optical depth requires the prioritize of pH-neutral cleaning over acidic alternatives.
How Water Destroys Wood From the Inside
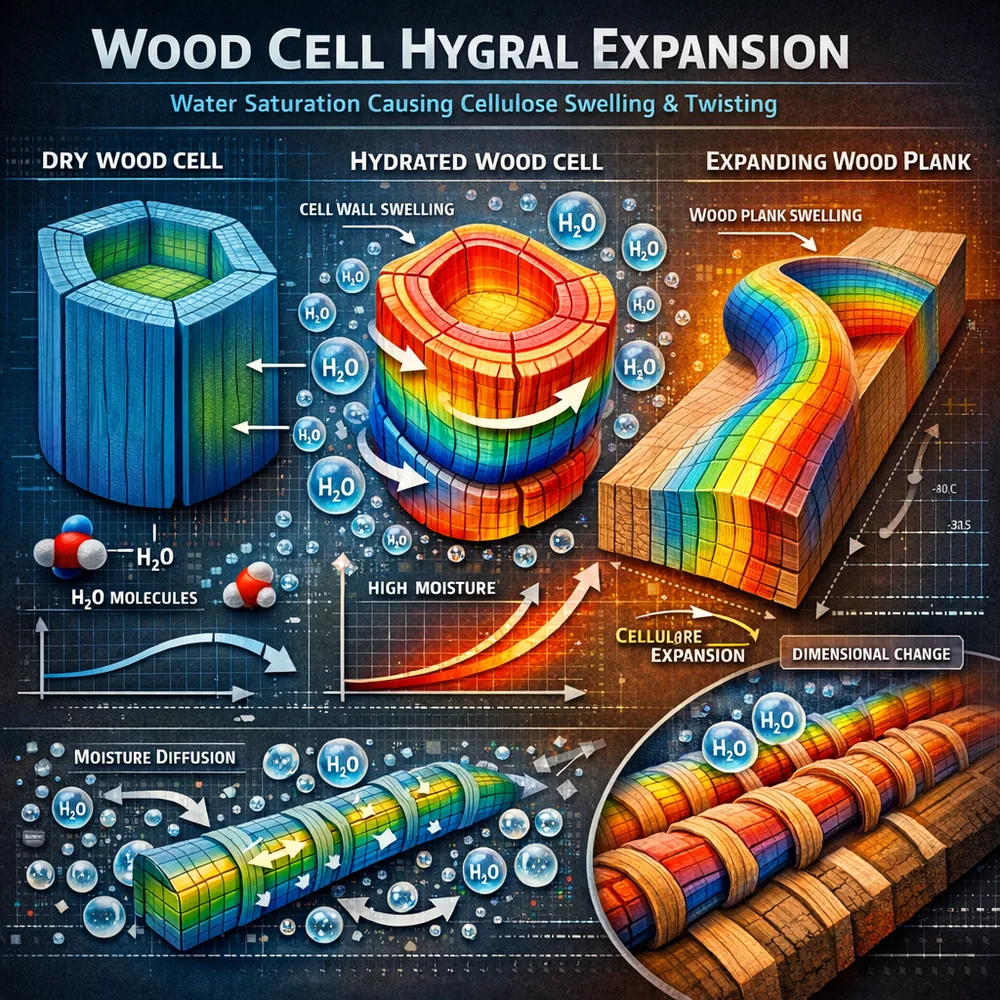
Beyond finish damage, the bigger threat to hardwood is water infiltration. Wood fibers are hygroscopic, which means they actively pull water molecules into their cellular structure. This is especially problematic at the seams where the protective finish is thinnest.
Once water gets into the wood cells, they swell significantly and put massive stress on the board structure. Cupping happens when the bottom of a plank gets wetter than the top, causing the edges to curl upward. Crowning is the opposite, where the center swells upward from top-side moisture.
In extreme cases, boards can buckle entirely and lift off the subfloor.
Moisture also creates the perfect environment for mold and mildew growth inside the wood structure itself. This leads to unpleasant odors and, eventually, rot that destroys the floor from within. The takeaway: controlling moisture during cleaning isn’t optional. It’s the single most important factor in protecting hardwood floors.
Key Insight: Wood fibers are hygroscopic and react to water infiltration through rapid cellulose swelling. This moisture-driven expansion can cause irreversible cupping, crowning, and buckling, as well as providing the necessary substrate for internal fungal colonization and rot.
The Damp-Mop Technique: Minimal Water, Maximum Clean
Given wood’s sensitivity to moisture, the safest cleaning method is the damp-mop technique using microfiber textiles. Microfiber is uniquely suited for wood care because its massive surface area holds soil within a dense fiber matrix rather than pushing dirt into the seams.
When dampened correctly, a microfiber pad provides enough surface tension to lift oils and dust without leaving puddles behind.
The key is keeping the pad barely damp, not wet. A single misting can clean a surprisingly large area. Before damp-mopping, always vacuum or sweep the floor first to remove abrasive grit that could scratch the finish. Your goal is to have the floor dry within sixty seconds after mopping. This is the safe window for preventing moisture infiltration into the microscopic seams between planks. String mops tend to push water into crevices, which is why flat microfiber pads are the better choice. They stay on the surface where they belong.
Key Insight: Microfiber damp-mopping minimizes “free water” on the floor surface, preventing the capillary infiltration that leads to wood swelling. Utilizing a “misting” protocol ensure the floor dries within the critical sixty-second window, maintaining the structural health of beveled seams.
The Soap Residue Problem
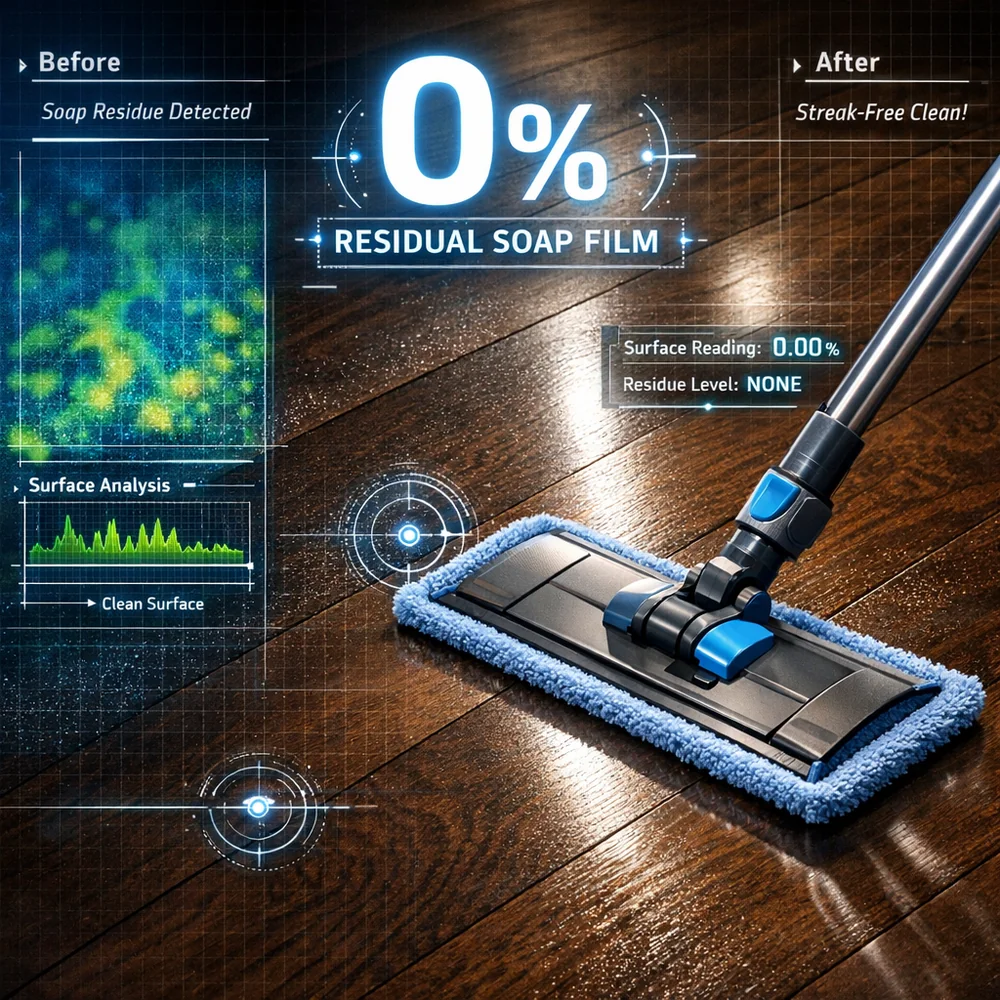
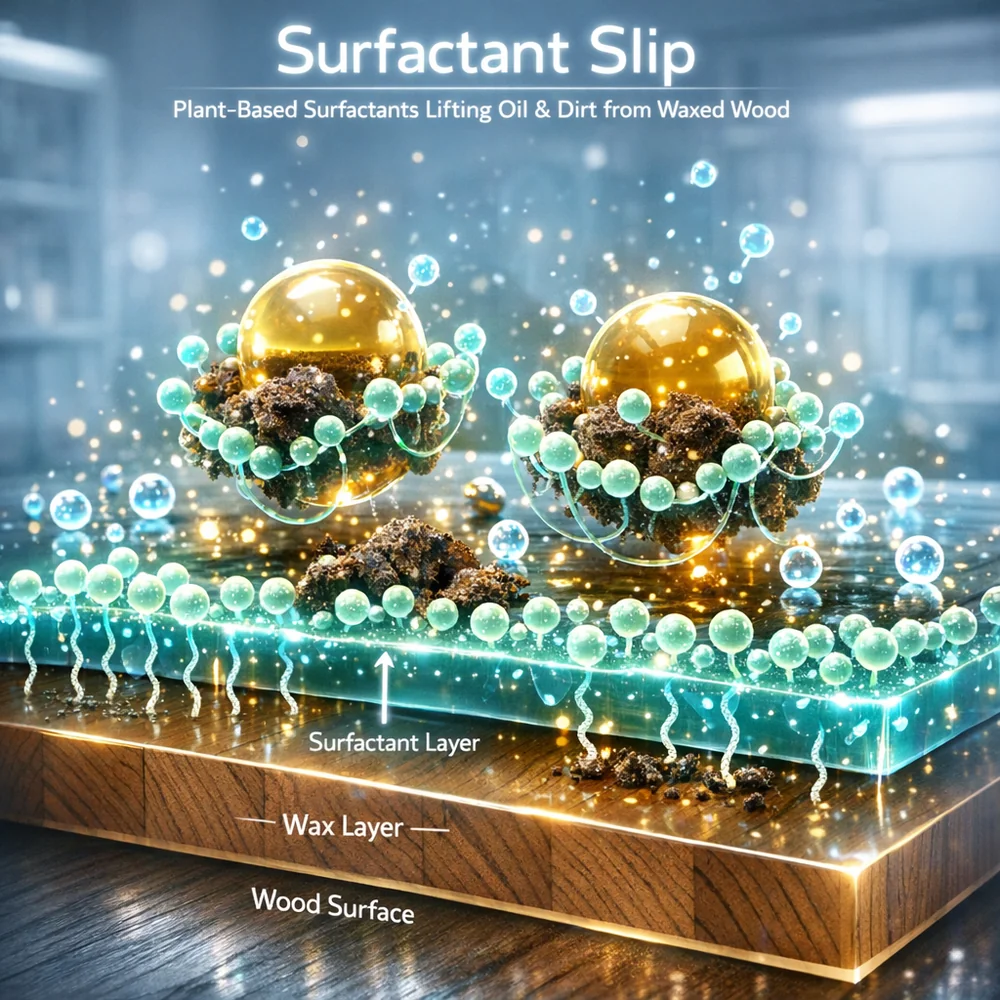
Dish soap on hardwood floors is a popular hack, and it can work if you’re careful about dilution. The issue is that dish soap is designed for heavy grease removal, which means it has high surfactant power. On a floor, that can leave behind a sticky film that attracts more dirt.
Within days of using too much soap, your floors can develop a dull, tacky appearance. Reference our detergent comparison guide for more on surfactant residue chemistry.
The safe approach is extreme dilution: just a few drops in a full gallon of hot water.
That provides enough energy to lift dust without leaving a problematic film. Another issue is pH variance between brands. While some dish soaps are neutral, others are slightly alkaline to help with protein-based soils. Even mild alkalinity starts the slow process of finish degradation. Specialized wood cleaners are typically a better choice because they’re formulated to be rinse-free and pH-perfect for polyurethane.
Key Insight: While highly diluted dish soap is a safe pH-neutral cleaner, its high surfactant density poses a risk of “tactile residue” buildup. This sticky film traps environmental dust and dulls the floor’s finish, necessitating a more technically precise “rinse-free” cleaning agent for optimal clarity.
Engineered vs. Solid Hardwood: Different Risks
With cleaning chemicals covered, you also need to know what type of wood you’re working with. Solid hardwood is a single piece of timber through and through. It’s highly dynamic and prone to all the swelling issues we’ve discussed. Engineered hardwood is a composite: a thin wear-layer of real wood over layers of plywood or HDF arranged at cross-angles.
The cross-laminated core makes engineered wood much more resistant to warping. But it has its own vulnerability: the glue.
While the boards themselves may not cup or crown, moisture can trigger delamination where the top layer peels away from the core. For this reason, engineered wood still needs the damp-mop technique. The wear-layer on engineered floors is often too thin to sand more than once, making preservation of the original finish even more critical. Reference our brooms and bristles guide for more on soft mechanical tools. Both floor types need pH-neutral, moisture-controlled care, just for different structural reasons.
Key Insight: Engineered hardwood utilizes cross-laminated stability to resist warping but remains vulnerable to moisture-driven delamination of the wear-layer. The thinness of this top layer increases the technical requirement for non-abrasive, pH-neutral care to avoid permanent material failure.
Dealing With Scratches: Don’t Clean, Fill
A common mistake is trying to clean away scratches. Scratches aren’t dirt deposits. They’re physical valleys in the polyurethane surface where the finish has been removed. Wiping them with more water won’t make them disappear, and it actually provides a channel for moisture to reach the raw wood underneath.
Exposed wood cells can develop localized staining or even rot if moisture gets trapped inside.
For fine surface scratches, dedicated finish-restorers contain microscopic polymers that flow into the valleys and restore optical uniformity. For deeper scratches that reach the wood itself, you need a color-matched wood filler. This is the floor-scale equivalent of mending clothes to extend the life of an asset. The best scratch prevention is a grit-filter routine: place high-quality walk-off mats at every entry point to catch abrasive particles before they reach your floors. Reference our pet-safe floor cleaners guide for more on managing external soil loads.
Key Insight: Surface scratches are mechanical structural failures that provide bypasses for moisture to reach the raw wood core. Managing scratches requires polymer-filling or re-sealing rather than aggressive cleaning, which can exacerbate the risk of localized rot and staining.
Polish vs. Wax: Know the Difference
In floor care terminology, waxing and polishing are completely different processes that don’t mix. Waxing applies a sacrificial layer of natural wax that provides a buffable glow and water repellency. But here’s the critical rule: never apply wax to a polyurethane-finished floor.
Wax doesn’t bond to polyurethane. It creates a cloudy, slippery mess that’s dangerous to walk on and impossible to maintain.
Polishing a polyurethane floor means applying a water-borne polymer refresher that adds a thin layer of acrylic or polyurethane molecules to the existing finish. This fills micro-scratches and restores original sheen without the problems wax causes. If you’re unsure which finish you have, do a water-drop test in an inconspicuous spot. If water sits on top, the floor is sealed and needs polish. If it absorbs or leaves a white spot, you have a wax or unsealed finish. Over years of use, polish buildup can become thick enough to peel or yellow, so don’t over-apply.
Key Insight: Wax and polyurethane are chemically incompatible maintenance systems; applying wax to a sealed floor creates a degradative residue that traps environmental soil. Professional luster is achieved by matching water-borne poly-refreshers to sealed surfaces and natural waxes to traditional unsealed finishes.
Humidity Control: Protecting Floors Year-Round
The stability of your hardwood floor depends heavily on the humidity in your home. Because wood is hygroscopic, it expands in humid conditions and contracts when dry. This constant movement stresses the finish and the joints between boards. The ideal range is 35 to 55 percent relative humidity.
During winter, heating systems dry out indoor air, causing wood to contract and finishes to crack.
A humidifier can prevent this. In summer, you may need a dehumidifier to prevent excessive moisture absorption. Reference our sanitizing humidifiers guide for maintaining these devices. Monitoring humidity with a simple hygrometer is a hallmark of smart floor care. A stable environment protects both the wood and the chemical bonds of the polyurethane coating. By managing atmosphere, you reduce mechanical stress and prevent the need for expensive repairs like board replacement.
Key Insight: Ambient relative humidity serves as the primary driver for wood dimensional stability and finish integrity. Maintaining a 35–55% humidity window prevents the cyclical expansion and contraction cycles that lead to mechanical joint failure and chemical delamination of the protective finish.
Conclusion
Safe hardwood floor maintenance comes down to respecting the material’s sensitivities. Use only pH-neutral cleaners to protect the polyurethane finish from both alkaline hydrolysis and acid etching. Keep vinegar far away despite its reputation as a natural cleaner. Control moisture ruthlessly with the damp-mop technique, aiming for floors that dry within sixty seconds.
Know your floor type since solid and engineered hardwood have different vulnerabilities, but both require low-moisture, non-abrasive care. Don’t try to clean scratches; fill them with appropriate products instead. Match your maintenance products to your finish type, whether that’s polish for sealed floors or wax for traditional unsealed surfaces.
Finally, manage your indoor humidity to prevent the seasonal expansion and contraction that stresses both wood and finish. Treat your hardwood floors as the precision investment they are, and they’ll reward you with beauty and durability for decades.
References
- Hustvedt, G., et al. (2012).
“Polymer Degradation in Architectural Coatings: The Impact of Cleaning Solvent pH.” Journal of Applied Polymer Science. 2. International Fabric Institute.
(2015). “Cellulose Thermodynamics and Moisture Infiltration in Hardwood Flooring.” IFI Technical Bulletin. 962.
1-14. 3. Smith, J.
A., et al. (2011). “Textile Mechanics and Soil Extraction: Microfiber Efficacy on Textured Wood Surfaces.” Journal of Cleaning Science.
- World Health Organization (WHO). (2019).
“Indoor Hygiene and Material Safety: Managing Chemical Loads in Residential Flooring.” WHO Technical Guidance. 5. U.S. Environmental Protection Agency (EPA).
(2020). “Evaluating the Volatile Organic Compound (VOC) Release of Floor Maintenance Products.” EPA Technical Bulletin.