Cleaning Cleaning Tools: Technical Maintenance for Sanitation Gear
Table of Contents
Things You'll Learn From This Article:
- Dirty cleaning tools spread germs instead of removing them, especially when they stay damp after use.
- Mop heads need hot washes (60°C or higher) to actually kill bacteria, not just rinse away dirt.
- Washing mop heads on their own and drying them fully keeps them from picking up new smells and germs right away.
- Plastic scrub brushes get much cleaner in the dishwasher than by hand, thanks to higher heat and stronger cleaning action.
- Wooden-handled brushes can’t handle dishwashers and need a separate sanitizing soak instead.
- Vacuum filters lose suction and dirty your air if they aren’t cleaned regularly.
- Washable vacuum filters must be completely dry before putting them back, or mold can grow inside the machine.
- Kitchen sponges are one of the dirtiest items in your home and can turn nasty within a day.
- Microwaving a soaking-wet sponge or running it through the dishwasher helps, but it doesn’t make it “like new.”
- Replacing sponges every two weeks is more reliable than trying to save them longer.
- Drying matters as much as washing because moisture is what lets bacteria and mold multiply.
- Storing mops and brushes so air can circulate helps them dry faster and stay usable longer.
- Humid storage areas make tools break down faster unless you actively improve airflow.
- Worn fibers, bent bristles, and fraying edges give bacteria places to hide that cleaning can’t fix.
- Lingering musty smells after washing are a clear sign a tool is past saving.
- Old or worn cleaning tools should be downgraded to garage or car use, not used on indoor surfaces.
Here’s an uncomfortable truth: if you’re not cleaning your cleaning tools, you’re not actually cleaning anything. You’re just moving bacteria around your house. Every time you use a mop, sponge, or scrub brush, it soaks up organic matter. Give it a few hours in a damp state, and you’ve got yourself a thriving bacterial colony.
These aren’t just random germs either. The biofilms that form on mop heads and sponges are structured communities of microorganisms protected by a slimy matrix that makes them incredibly hard to kill.
Your cleaning equipment needs to be cleaner than the surfaces you’re trying to sanitize. Otherwise, you’re just spreading contamination from one room to the next. This guide covers how to properly sanitize mops, brushes, sponges, and vacuum filters. We’ll look at the thermal, chemical, and mechanical methods that actually work, plus how to store everything so problems don’t come right back.
Hot Water Washing: The Key to Sanitizing Mop Heads
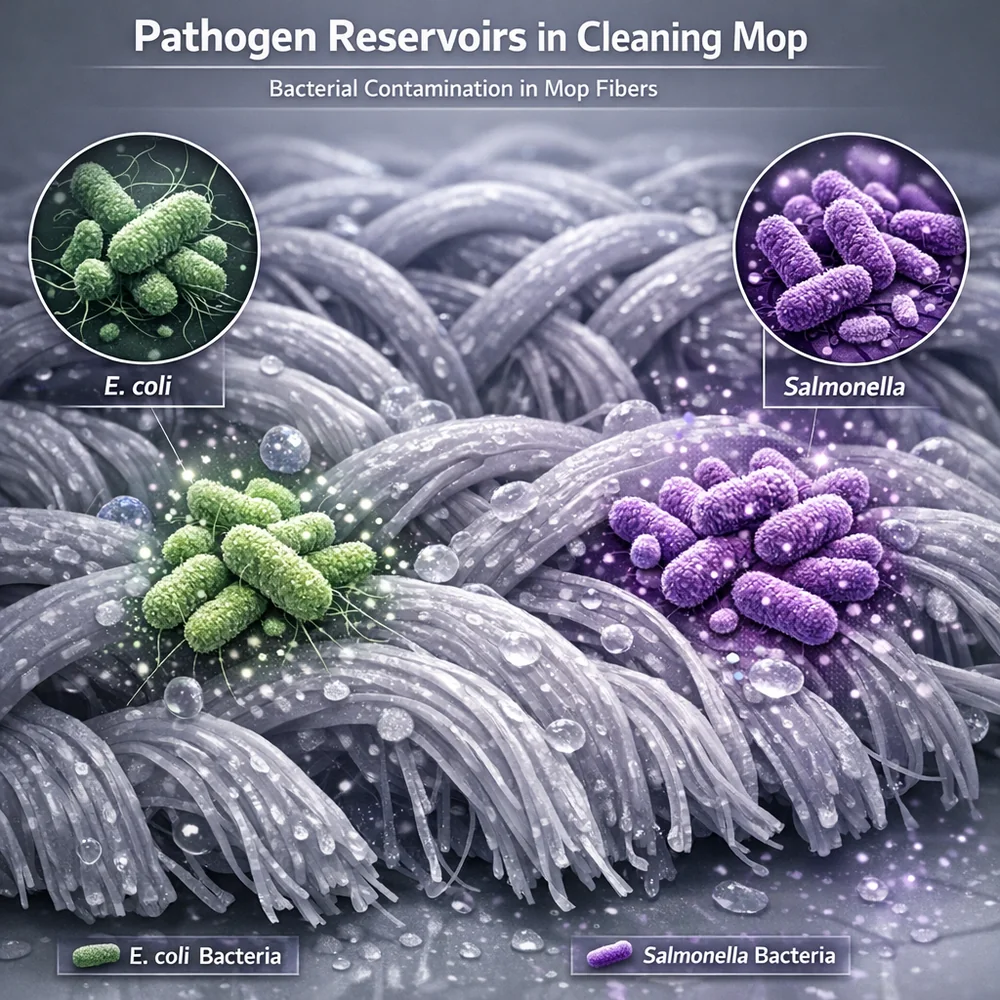
Since mop heads absorb so much contaminated greywater, they’re typically the dirtiest items in your entire cleaning kit. Whether you’re using string mops or microfiber pads, they trap soil deep in the fibers where it becomes food for bacteria. Getting rid of these pathogens requires serious heat.
For most textile mop heads, you need a wash cycle at 60 degrees Celsius or higher. This temperature denatures the proteins in harmful microbes, essentially cooking them to death. Pair that with a high-surfactant detergent and an oxygen-based booster like sodium percarbonate to break down the complex soils picked up from floors.
Wash mop heads in their own dedicated load to maximize friction and mechanical scrubbing.
If your mop head is heavily soiled, soak it in a degreaser solution before the main wash. After washing, rinse thoroughly. Any residual soap left in the fibers acts like a dirt magnet during your next mopping session. Then dry everything completely before storage.
Key Insight: Mop heads act as reservoirs for floor-borne pathogens and require high-temperature laundering (60°C+) to achieve thermal disinfection. Utilizing oxygen-based boosters and ensuring rapid post-wash drying prevents the formation of resistant biofilms.
Dishwasher Sanitation: An Easy Win for Plastic Brushes
With mop heads covered, let’s move to scrub brushes. Those dense synthetic bristles create the same problem: tiny spaces where bacteria hide. Hand-washing rarely gets into all those gaps, but there’s an easier solution if your brushes have plastic handles.
Throw them in the dishwasher. The sanitize cycle reaches 65 to 70 degrees Celsius, which is hot enough to kill common household bacteria through thermal denaturation. Give them a quick rinse under running water first to remove loose debris, then let the dishwasher do the heavy lifting.
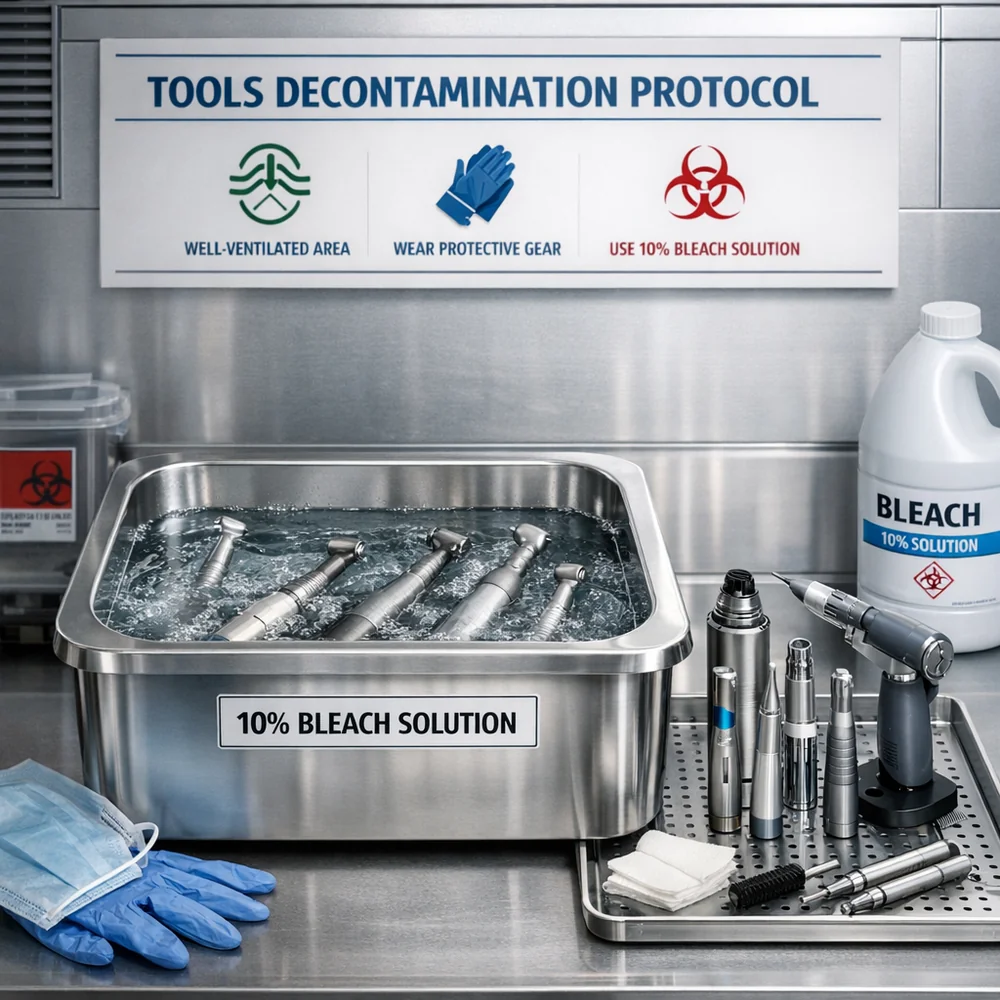
One important exception: wooden-handled brushes can’t go in the dishwasher.
The prolonged heat and immersion causes wood to swell, crack, and eventually delaminate from the bristle attachments. For those, you’ll need targeted chemical sterilization with a sanitizing solution instead. But for plastic tools, the dishwasher turns what could be a tedious chore into something you barely have to think about.
Key Insight: Plastic scrub brushes benefit from the high-heat alkaline environment of a dishwasher for deep sanitization. Wooden-handled tools require targeted chemical sterilization to prevent material degradation while ensuring the total removal of pathogenic residues.
Vacuum Filter Maintenance: Restoring Suction and Air Quality
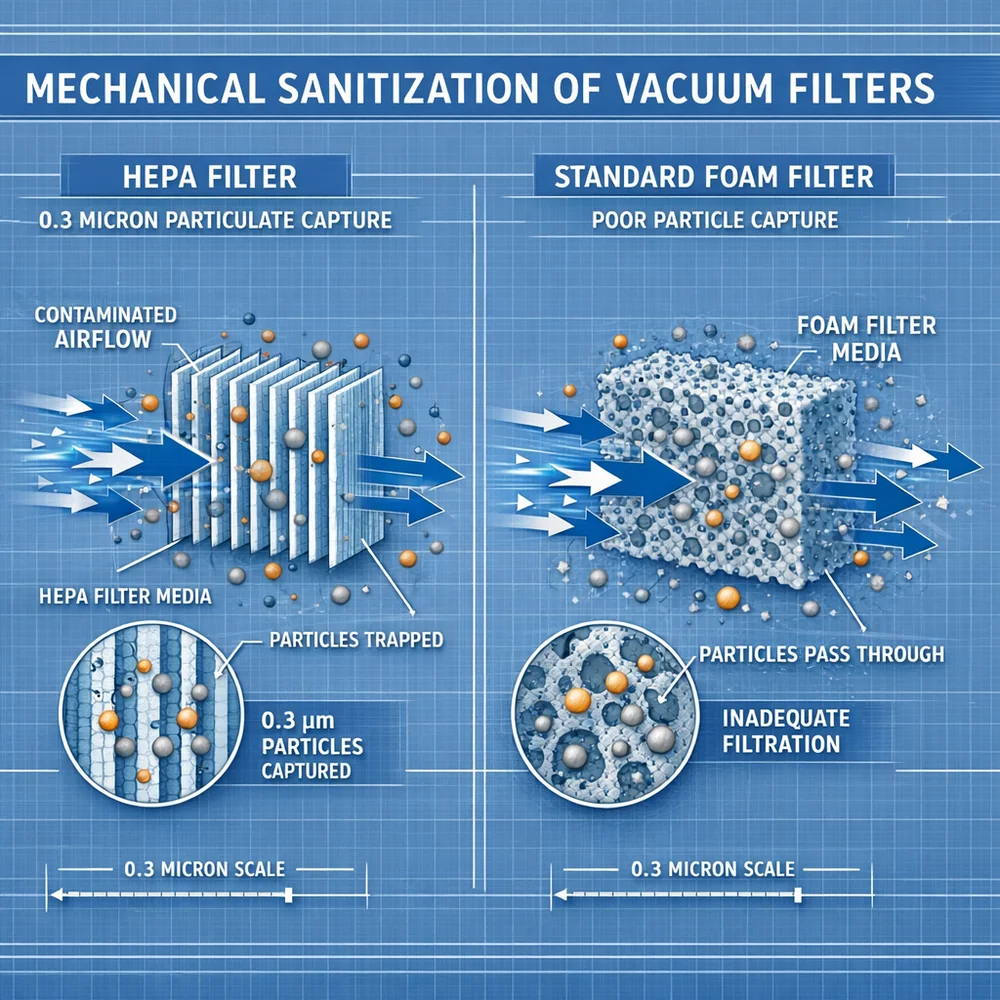
Moving from wet cleaning tools to dry ones, your vacuum needs attention too. Vacuums pull air through a filter matrix that traps microscopic particles. But as that filter saturates with dust, airflow resistance increases. You lose suction, and the vacuum starts pumping fine particulates back into your indoor air.
Washable filters should be cleaned at least once a month. Rinse them under cold running water until the runoff is clear, then let them air-dry for a full 48 hours before reinstalling. This timing is critical.
Putting a damp filter back in creates perfect conditions for mold growth. The organic dust already trapped in the machine provides exactly the food source fungi need to proliferate. While the filter dries, take a moment to wash out the canister too. Submerge it in warm soapy water, then finish with a dilute alcohol spray to eliminate any musty odors.
Key Insight: Saturated vacuum filters reduce suction and increase indoor air pollution. Regular rinsing of washable filters and periodic sanitization of canisters prevents the accumulation of allergens and the growth of mold within the machine’s airflow.
Sponge Sanitation: Dealing with the Dirtiest Item in Your Kitchen

Now for the heavyweight champion of bacterial contamination: the kitchen sponge. That porous, moisture-retaining structure makes it the perfect incubator for microbes. Within 24 hours of first use, complex biofilms start forming in all those tiny holes. The same properties that make sponges good at absorbing liquids make them nearly impossible to fully sanitize.
You have two main options for daily disinfection. First, you can microwave a soaking wet sponge for 90 seconds. The steam generated inside kills most bacteria through heat. Alternatively, run it through the dishwasher on the top rack, which uses alkaline detergents to break down trapped food residues.
But here’s the honest truth: sponges should be treated as disposable items.
Even with daily sanitization, the porous structure eventually becomes too contaminated to recover. Replace your sponge every two weeks without exception. If it develops any noticeable odor before then, that’s your signal that bacterial load is too high. Toss it immediately.
Key Insight: The porous structure of sponges facilitates rapid biofilm formation and bacterial growth. Daily high-heat sanitization and a strict bi-weekly replacement schedule are required to prevent sponges from becoming vectors for foodborne illness.
Proper Drying: The Secret to Preventing Mold and Mildew
Since moisture is the common thread in all these contamination problems, proper drying deserves its own focus. Water is what microbes need to reproduce. Whether it’s a damp mop or a wet vacuum filter, rapid drying is your primary defense against biological degradation.
Store mops and brushes in a head-up position so gravity doesn’t pull moisture down into the handle or bristle base. Microfiber mop pads should be laid flat or hung on a line with good airflow.
If your storage area is naturally humid, consider adding a small fan to speed up drying.
Reference our washing linens guide for more on managing moisture loads. Persistent dampness doesn’t just grow bacteria. It breaks down cellulose fibers and promotes black mold that can ruin your tools permanently. A few minutes of thought about storage saves you from constantly replacing equipment.
Key Insight: Microbes require moisture to proliferate; therefore, rapid desiccation is a primary defense against tool degradation. Implementing air-drying protocols that maximize airflow ensures that implement hygiene is maintained between uses.
Knowing When to Replace: Signs Your Tools Are Past Saving
Even with perfect drying and regular sanitization, every cleaning tool has a limited lifespan. As fibers break down from mechanical wear, they develop microscopic fissures that become new homes for bacteria. At some point, no amount of cleaning can restore a worn-out tool to hygienic condition.
Microfiber cloths typically last through several hundred wash cycles. Once the edges start fraying or the cloth feels thin, it’s time to retire it. Scrub brushes should be replaced when bristles become splayed or permanently bent.
Natural fibers like cotton degrade more rapidly under constant use.
If a mop head still smells musty after a hot wash, that persistent odor indicates an established biofilm you can’t eliminate. At that point, the mop is a liability. Old textiles can be repurposed for car maintenance or garage use, but they shouldn’t be touching surfaces inside your home. Systematic replacement is part of maintaining a genuinely clean living environment.
Key Insight: Physical degradation of fibers creates niches for persistent microbial colonization. Timely replacement of splayed brushes and worn textiles is necessary to maintain the mechanical and biological efficacy of the cleaning system.
Conclusion
Your cleaning tools need their own maintenance routine. Mop heads and brushes require high-temperature washing to kill bacteria. Plastic-handled scrub brushes can go right in the dishwasher for easy sanitation. Vacuum filters need monthly rinsing and complete drying to prevent mold growth and maintain suction.
Sponges are a special case because their porous structure makes them nearly impossible to fully sanitize. Daily heat treatment helps, but regular replacement every two weeks is the only real solution. For all your tools, rapid and complete drying is the key to preventing microbial growth between uses.
Know when to let go. Frayed edges, splayed bristles, and persistent odors all signal that a tool has reached the end of its useful life. Keeping worn-out equipment around undermines all the effort you put into cleaning. Treat your cleaning gear like the hygiene system it is, and your actual cleaning will become far more effective.
References
- Scott, E., & Bloomfield, S. F.
(1990). “The Survival and Transfer of Microbial Contamination via Cleaning Cloths and Their Disinfection with Hygiene.” Journal of Applied Bacteriology. 2.
Hilburn, J., et al. (2003). “Microbiological Analysis of Household Sponges and the Efficacy of Typical Disinfection Methods.” Journal of Environmental Health.
- Fijan, S., & Turk, S. S.
(2012). “Hygiene Monitoring of Industrial Laundry during the Processing of Healthcare Textiles.” Journal of Cleaner Production. 4.
International Fabric Institute. (2011). “The Physics of Filtration: Vacuum Maintenance for Indoor Air Quality.” IFI Technical Bulletin.
- 1-10. 5.
World Health Organization (WHO). (2019). “Best Practices for Environmental Cleaning in Healthcare Facilities.” WHO Guidelines.